
BinaryOptionRanking symbolBinaryOptionRanking
Technical strategy

Support and Resistance Strategy

Clean price zones, strike visibility, false-break rules, and event blackout windows.

Education only: Strategy content does not provide trade instructions, market-direction recommendations, or profit claims. Test assumptions in a demo account, confirm broker rules, and stop when the setup fails.
Support and Resistance Strategy visual
Technical framework

How the strategy works

Define support and resistance as zones, confirm the contract details, and never assume price must react at a level.

01
Step 1

Support and resistance identifies price zones; it does not guarantee that price will react at a level.

02
Step 2

Before a demo test, confirm that the strike, barrier, final price, and chart labels remain readable on desktop and mobile.

03
Step 3

False breaks, zones based on a single wick, and crowded chart labels can make short-expiry observations unreliable.

Worked example

Use the example only as a planning model. It is not a market-direction recommendation, trade instruction, or profit claim.

Zone ruleMark before price reaches it
Contract fieldStrike/barrier visible before confirmation
InvalidationFalse-break condition recorded
Demo validation

Demo testing checklist

Compare chart drawing tools, horizontal levels, strike or barrier visibility, mobile label readability, and whether final settlement can be checked against the visible condition.

Use this checklist to confirm that each step appears clearly in the broker's demo history.

01
Mark the zone before the demo observation
02
Note the expiry choice separately from the zone
03
Check whether final settlement matched the visible condition
Calculated example

Work through the assumptions

Input
Locked zone = 100.00 to 100.20; observed contract strike = 100.35; zone width = 0.20
Math
Normalized strike distance = (100.35 - 100.20) / 0.20
Result
The strike is 0.75 zone-width above the locked zone
Study protocol

What to model before testing

Treat support and resistance as zones rather than exact promises. The research question is whether the platform makes the zone, strike or barrier, expiry, and settlement easy to compare.

01
Record 1

Zone boundaries marked before price reaches them

02
Record 2

Distance from the selected strike or barrier to the zone

03
Record 3

Whether the rule was a touch, close, break, or rejection condition

Review metrics

Measure the process, not the story

Confirm that the product is available for the intended user and that the exact operating entity and domain can be verified before any demo study. Define net payout b, assumed win probability p, and full-loss result -1 explicitly. The simple expected value per unit is b × p - (1 - p), and break-even is 1 / (1 + b).

01
Zone-lock compliance

Percentage of zones whose boundaries and width were saved before price interacted with them.

02
Redraw rate

Count every zone moved, widened, narrowed, or deleted after the interaction or settlement became visible.

03
Normalized strike distance

Measure strike-to-zone distance divided by zone width so observations with different price scales remain comparable.

04
Condition match

Confirm whether the recorded interaction was a touch, close, break, rejection, expiry-only result, or path-dependent event.

Platform requirements

What this strategy needs from a broker

A broker is easier to review when price labels, strike or barrier labels, drawing tools, and final settlement are visible in the same workflow.

Check that the platform clearly shows the required contract, expiry, payout, order controls, and demo history before testing the method.

Sources

Sources and assumptions

These references support definitions, payout math, uncertainty, and market context. They do not prove that a strategy is profitable.

01
CFTC

Binary Options Fraud resources: platform, solicitation, registration, and payout-risk context. This source does not validate a strategy.

Open source
02
Investor.gov

Binary Options Fraud: withdrawal, identity, software-manipulation, and return-claim warnings.

Open source
03
Federal Reserve Bank of New York

Intraday Technical Trading in the Foreign Exchange Market discusses support and resistance observations whose effects vary by currency and firm; it does not establish a binary-option edge.

Open source
Compare brokers on this feature

Broker features to compare

These brokers rank highest for the Payout rate field. Compare their demo tools, contract controls, expiry settings, and order history before testing this method.

BABAOPTION platform view for Support and Resistance Strategy#1
BABAOPTION symbolBABAOPTIONPayout rate: Up to 880%

BABAOPTION lists four contract families with a maximum payout rate of up to 880%. Strike and barrier controls allow the displayed payout to be adjusted in 1% steps as the contract condition changes.

May not suit: The 70+ asset catalog is smaller than the largest catalogs in this comparison

IQ Option platform view for Support and Resistance Strategy#6
IQ Option symbolIQ OptionPayout rate: Up to 800%

IQ Option can show very high digital-option returns when strike selection changes the probability profile, but that figure is not the same as a standard fixed-time payout on every asset.

May not suit: Users who want uniform binary-option access in every country

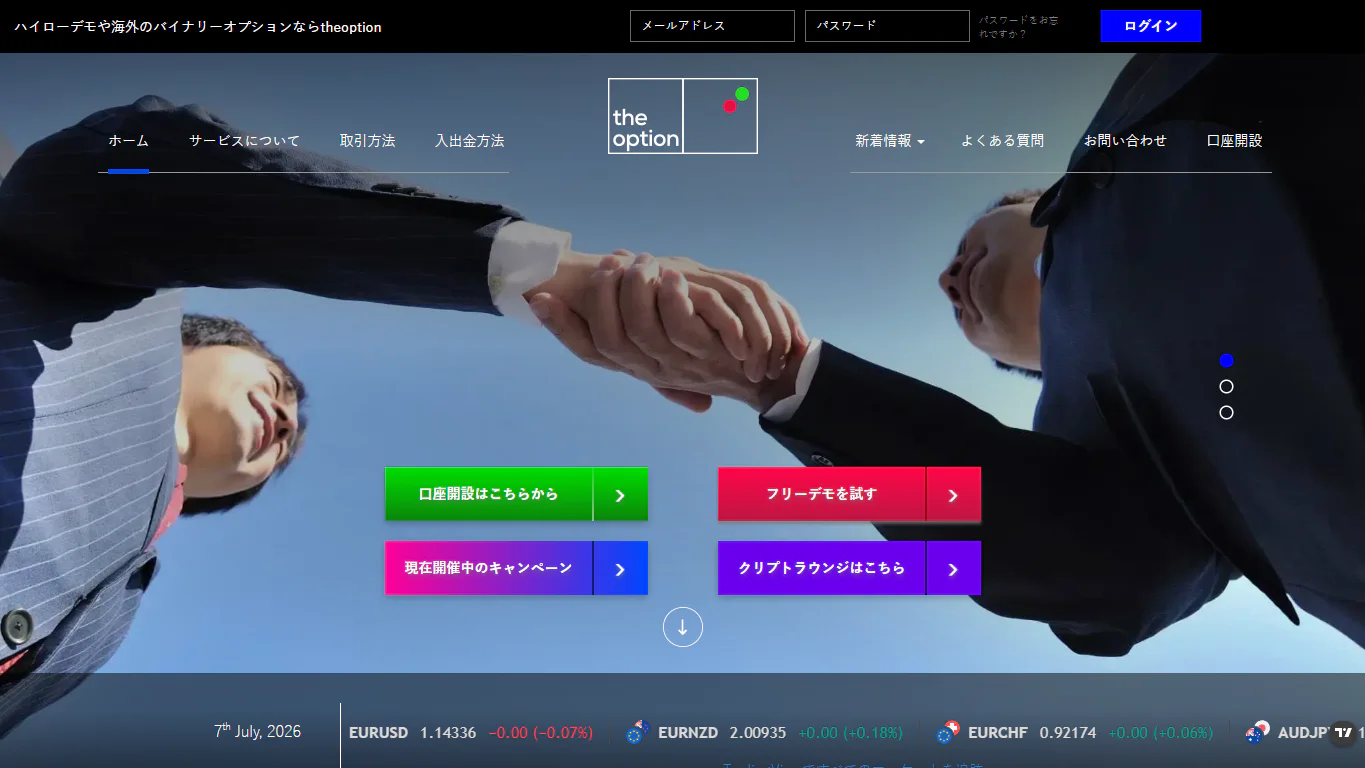
theoption platform view for Support and Resistance Strategy#10
theoption symboltheoptionPayout rate: Up to 400%

TheOption shows a high maximum on selected localized products, while its overall product range is narrower than global multi-market platforms.

May not suit: Users seeking broad global availability

Failure conditions

Avoid treating a single wick as a durable zone or testing when price is already too far from the planned level.

Test

Mark the zone before price arrives

Test

Note whether the zone was tested in demo

Test

Note whether the expiry was too short or too long